I love scones! Back when calorie counts weren’t posted at coffee shops and back when I was about 50 pounds heavier than I am now, I’d buy raspberry white chocolate scones from my favorite coffee shop a few mornings a week. They don’t sell them anymore. I don’t even go to a coffee shop more than a couple times a month now. See how I make my less expensive, lower calorie ones at home.
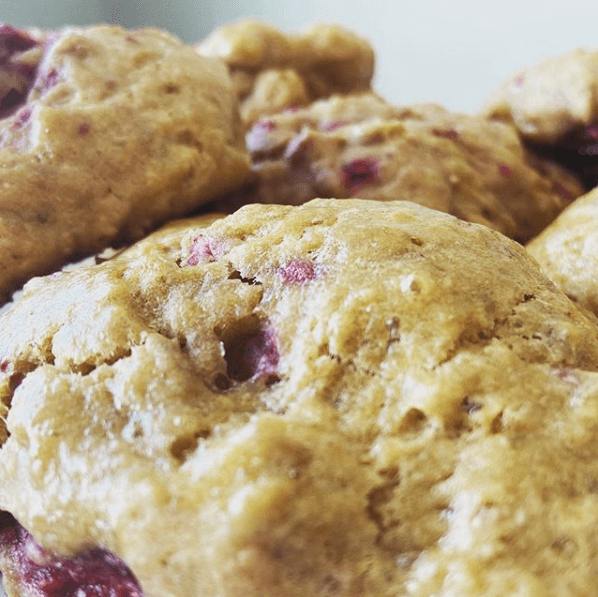
Inspired by a couple of different sources, Eating Well’s Blackberry Buttermilk Scones and The Atlantic’s The Secret of the Irish Scone , I created a better-for-you (not perfect for you) recipe for raspberry scones. The results are delish!
Following some of the tips in “The Secret of the Irish Scone” yielded a lighter and more moist scone than I have ever baked before. Plus, I learned a new tip that keeps my hands from getting so gooey while working with the dough. Two words: wax paper.
Better-For-You Raspberry Scones
8 Servings
(288 calories, 5g protein, 4g fiber)
Ingredients:
-
- 1 cup unbleached all-purpose flour
- 1 cup whole wheat pastry flour
- ⅓ cup coconut sugar
- 1 teaspoon baking powder
- ¼ teaspoon baking soda
- ½ teaspoon salt
- 7 tablespoons Smart Balance Buttery Sticks, melted
- ½ cup lowfat buttermilk
- 2 large eggs, divided
- 1 cup frozen raspberries
- Demerara sugar (optional)
Instructions:
-
-
- Preheat oven to 425F. Line a large baking sheet with parchment paper.
- Combine unbleached all-purpose flour, whole wheat pastry flour, coconut sugar, baking powder, baking soda, and salt in a medium bowl. Sift twice.
- This step may seem controversial to those who have always worked cold butter into their flour with a pastry cutter (like me). However, I gave the following a try and loved the results: In a separate bowl, whisk together melted butter, 1 large egg, and buttermilk. Then, make a well in the center of your dry ingredients. Pour your wet ingredients into it. Use a large spoon to mix.
- Get two large pieces of wax paper. Set one down on your workspace. Then turn your dough out onto it. Take the other piece of wax paper and set it on top of your dough. Shape the dough into a circle that’s about an inch thick.
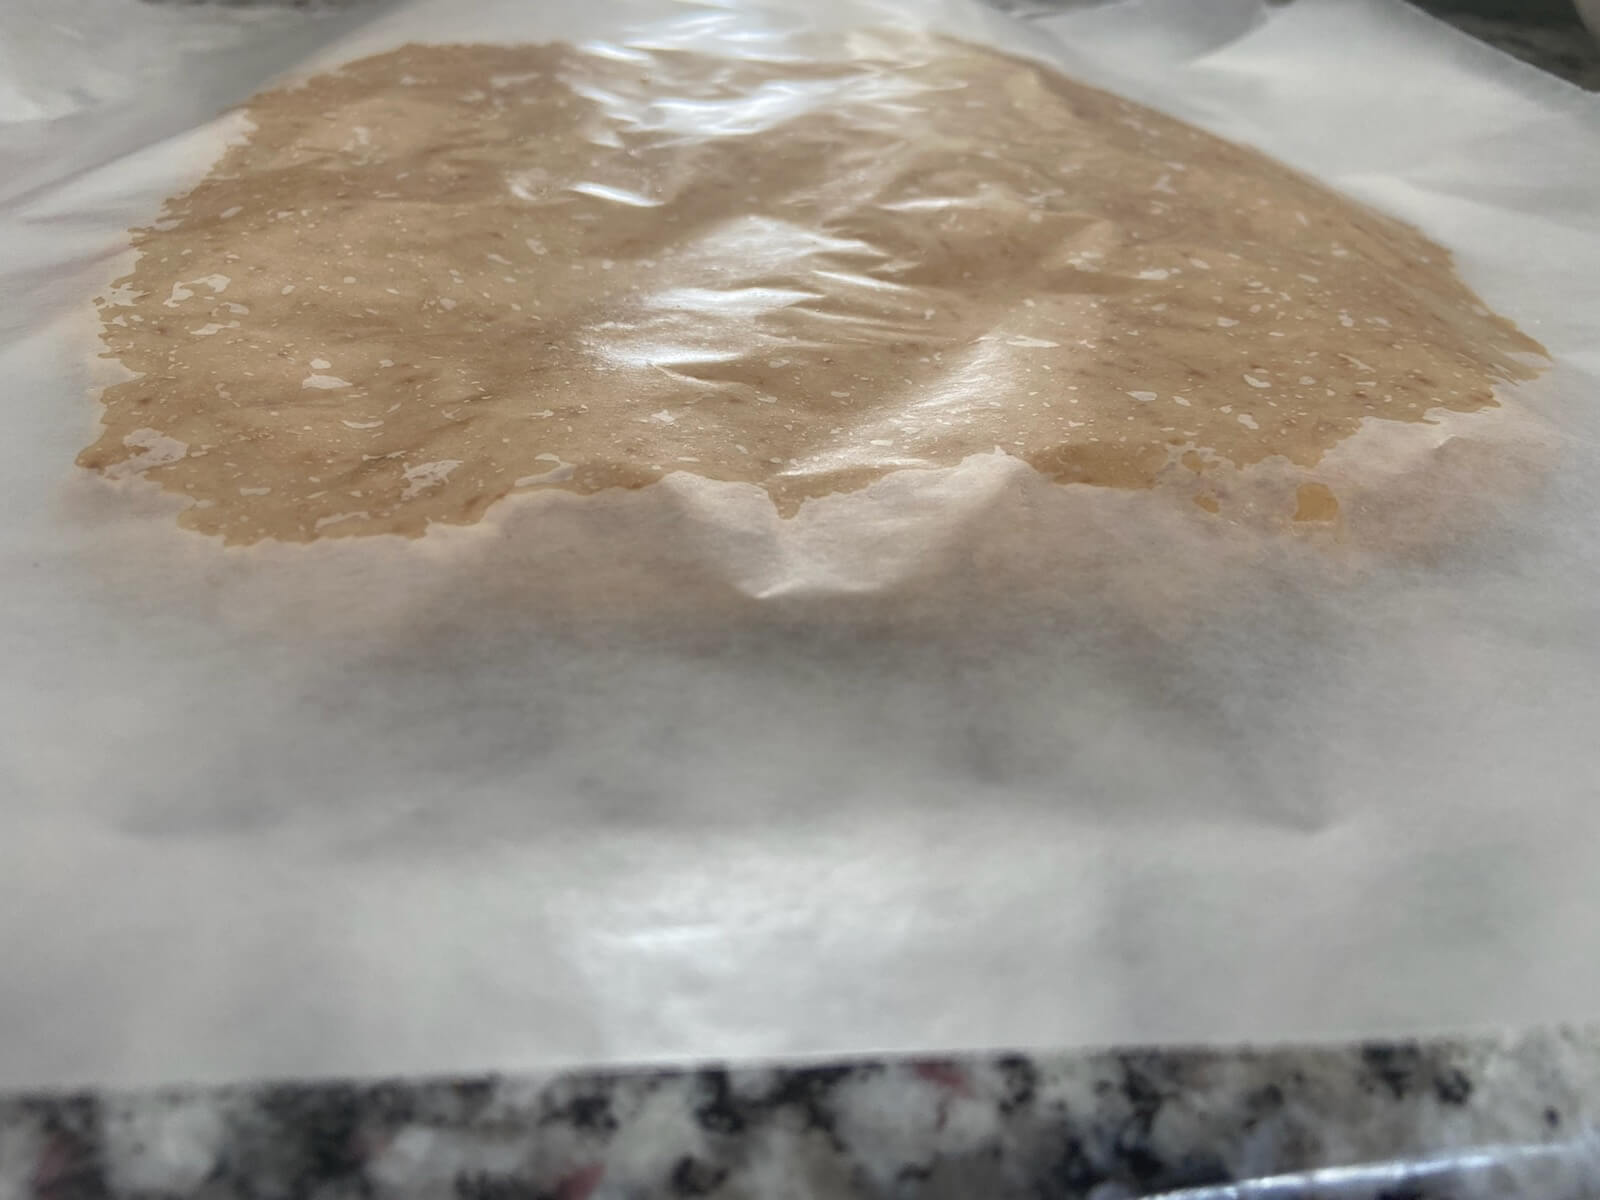 Side Note: I love that I’m not making a mess by putting more flour onto my counter to work with to do this! And, I love that my hands don’t get as sticky doing it this way!
 - Remove the top piece of wax paper. Scatter frozen raspberries over one side of the circle. Fold the other half of the dough on top. Place the top piece of wax paper back on and work the dough back into a circle. This time it should be about an inch and a half in height.
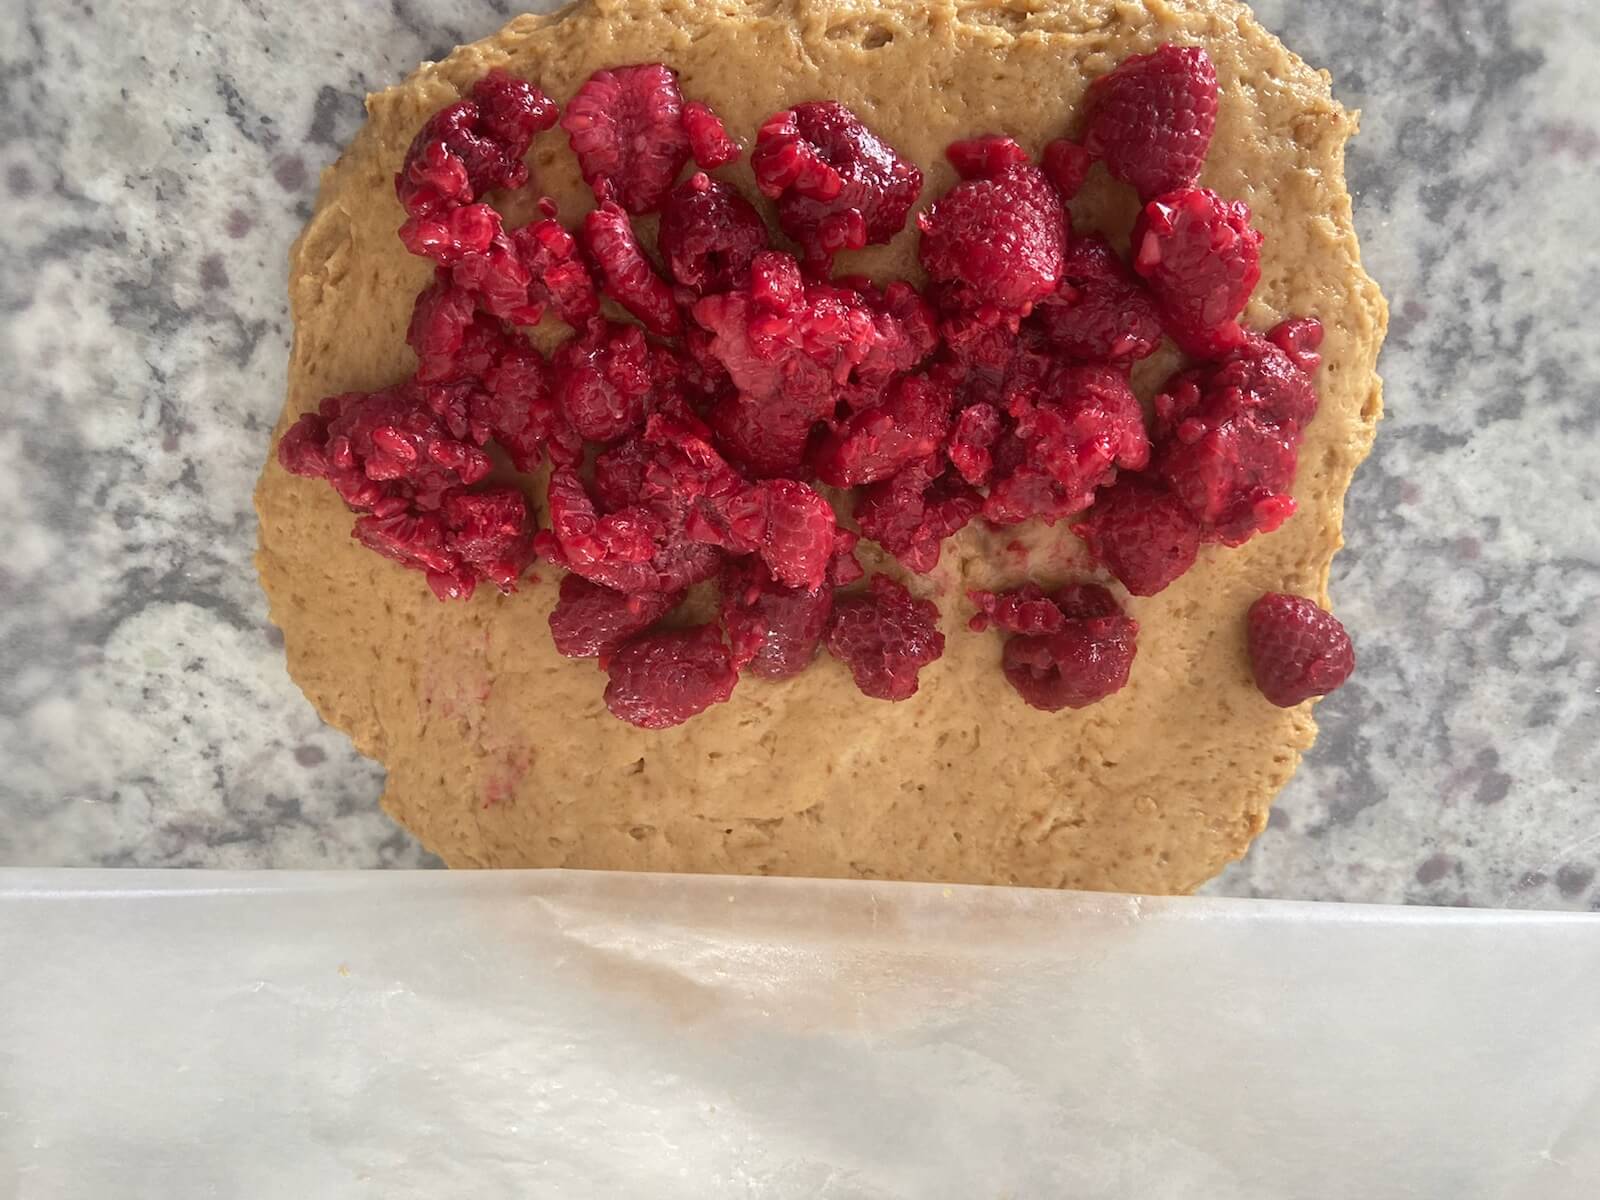
My circles aren’t perfect. Neither are my nails, or my life. Yet, life manages to be pretty darn good!
- Cut into 8 equal pieces, like you’re cutting a pie. Form each piece into a ball and place on the prepared baking sheet.
- Beat one egg. Then, use a pastry brush to brush it over each scone. Place scones into the refrigerator for 15 minutes. Then, glaze the scones again. Optional: sprinkle the tops with Demerara sugar.
- Bake scones until golden brown, about 15 minutes. Let cool before serving. Enjoy!
-
Looking for more better-for-you sweet recipes?
Melissa’s Better-for-You Sugar-Free & Dairy-Free Banana Bread
Let’s Connect! You can find me on @Pinterest , @Instagram, and Facebook. Have you given the recipe a try? Please share and let me know what you think! Happy baking!